

How To Fix Tufted Buttons But Cant Reach Back Of Couch
Lovely friends, welcome back! I am working my way through thrifty haul #2 and the next particular on the chopping cake is this tufted footstool I scored for only $12:
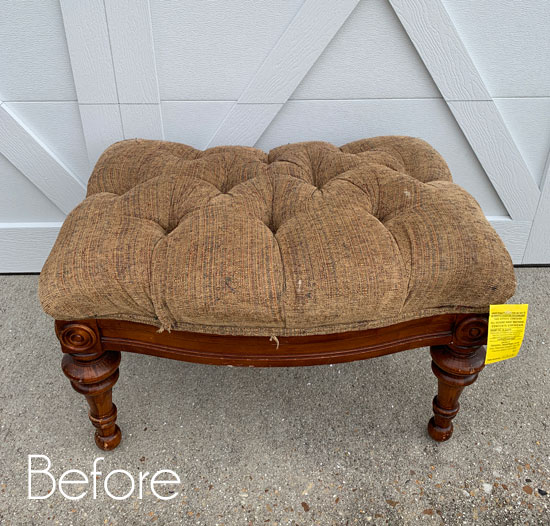
What a deal! I fell in love with the legs and the bow front on this dazzler correct away, and information technology was so super soft and comfy. That's where the love thing ended though because the rest was crying SOS.
When I first saw it I actually idea I might merely purchase information technology for the legs and maybe I could employ them on something else. But later on staring at it in my garage for a few days, I decided I would just recover information technology.
The title of this post suggests I may have cheated in some way in tackling this project, and that is truthful!
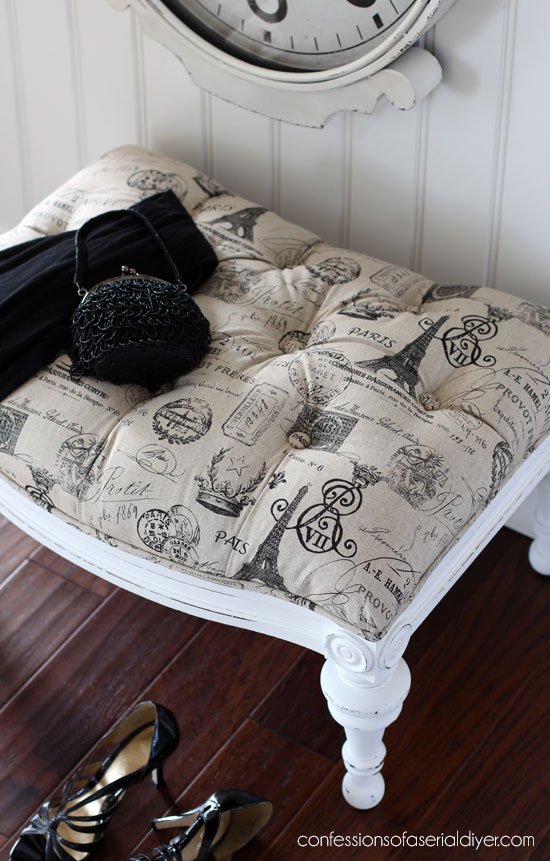
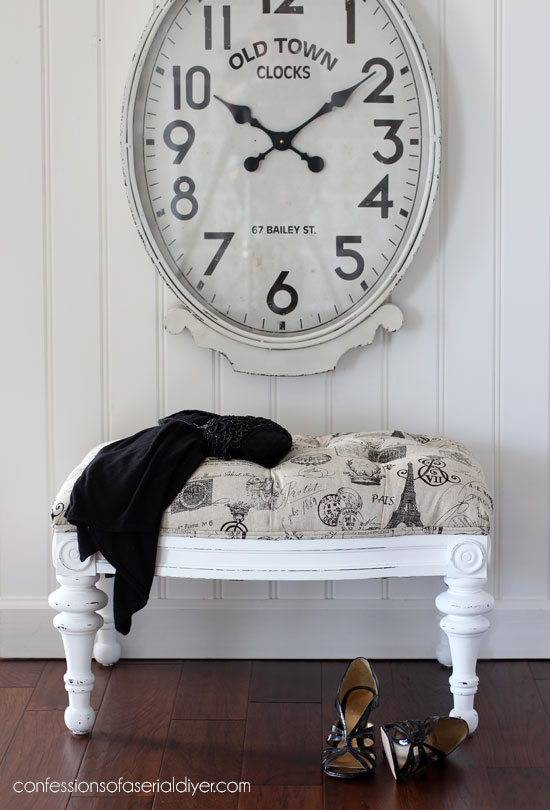
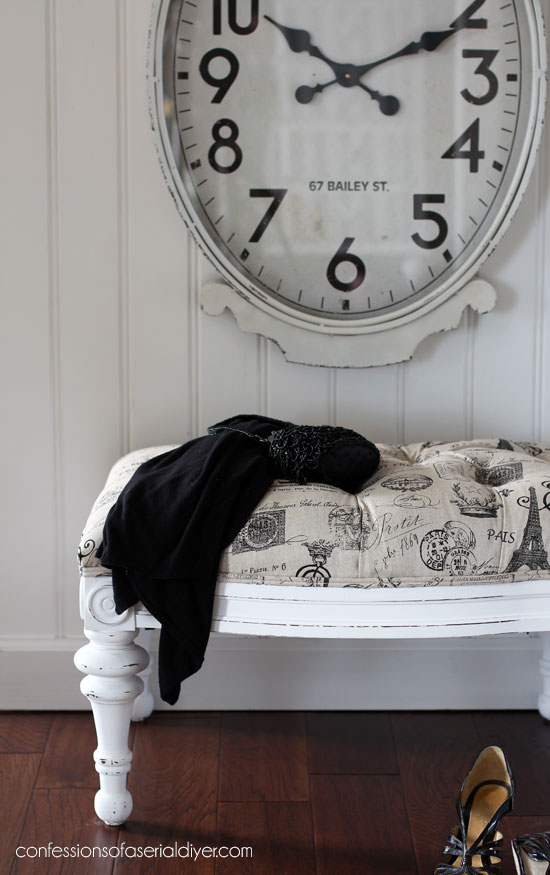
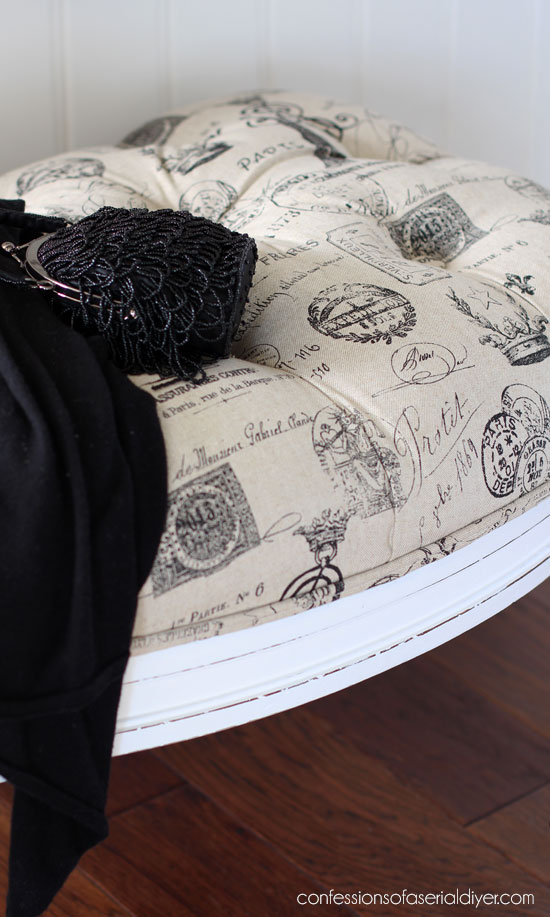
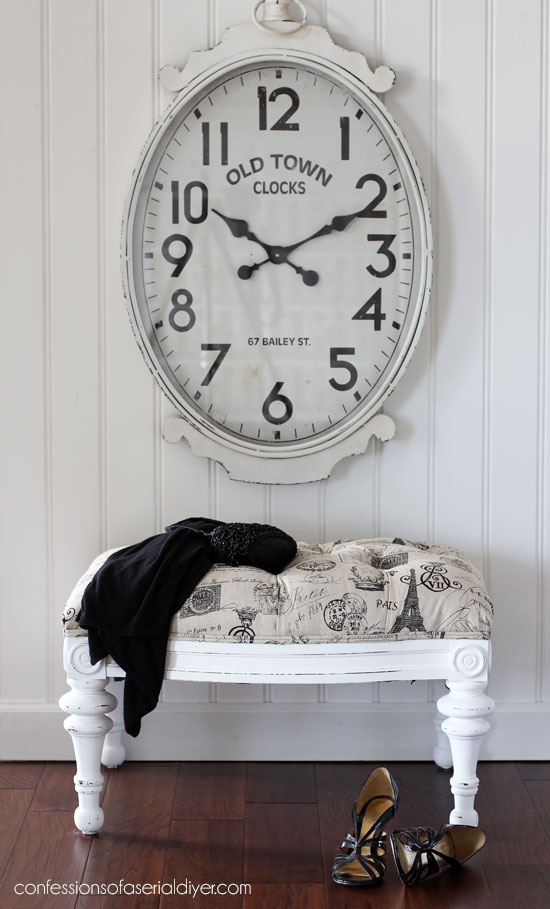
Kickoff, here is how this beauty looks at present:

Hullo gorgeous!
And aye I totally cheated these tufts:
And of course I am going to share my dirty secrets with all of y'all.
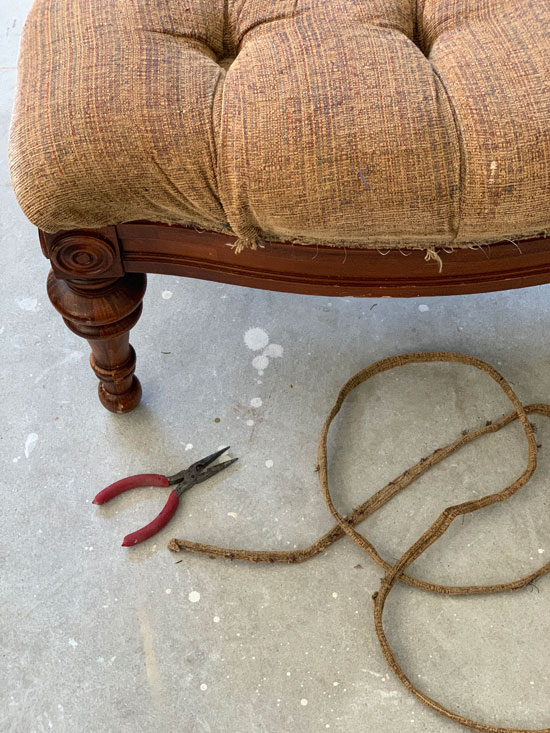
And then to start this makeover, I removed the existing pipe and residual staples:
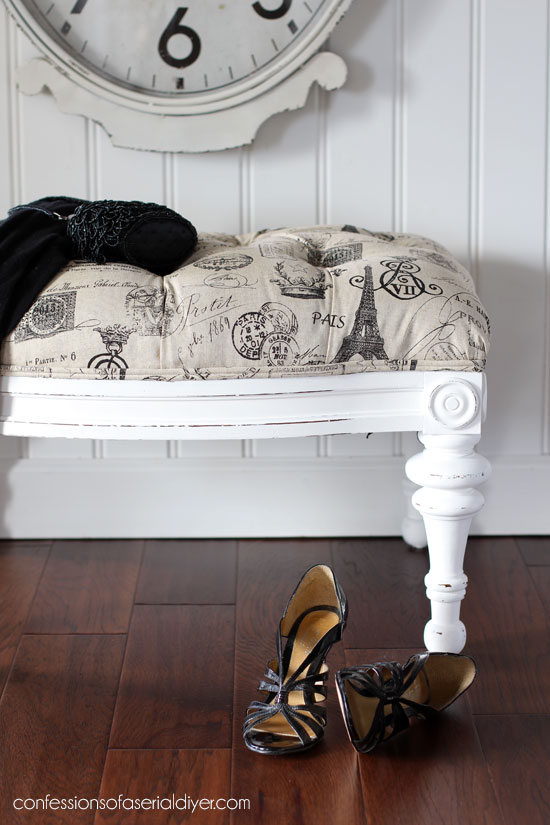
Then I painted the legs in my favorite white…Bit of Sugar from Behr made into DIY chalk paint. (Observe the recipe Hither.)

I sanded here and there and everywhere with 220 grit sand paper, and so sealed using my new-to-me Behr clear wax. Yes that's a matter…I but found information technology last weekend at The Abode Depot. So far I similar that it doesn't stink to high sky, but the jury is still out on its durability.
I paused hither to run to Hobby Lobby to selection up a button covering kit and to my surprise, I besides found this fabric that looks nigh only like my favorite frenchy cloth from the past that I used to buy at Hancock Fabrics before they went out of business. I love it because while it is all the same considered a neutral, it also has stain-camouflaging super powers, perfect for a foot stool!
I simply had to utilize it for this project. I've included a few affiliate links then you tin find the products I love.
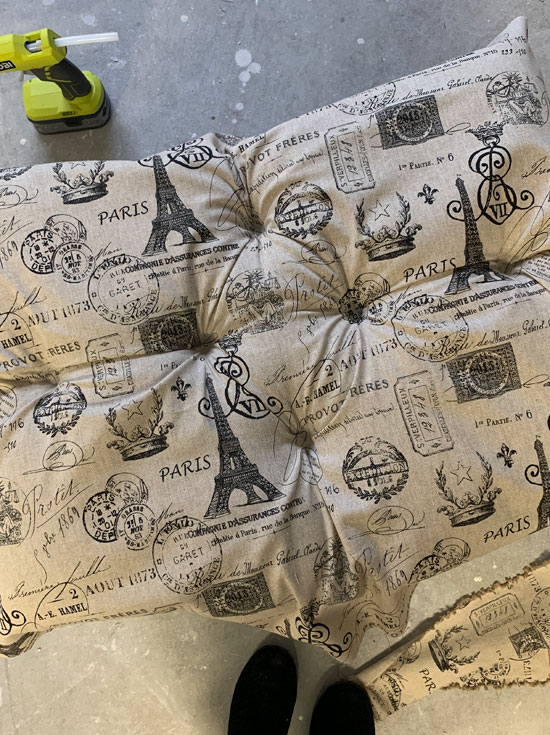
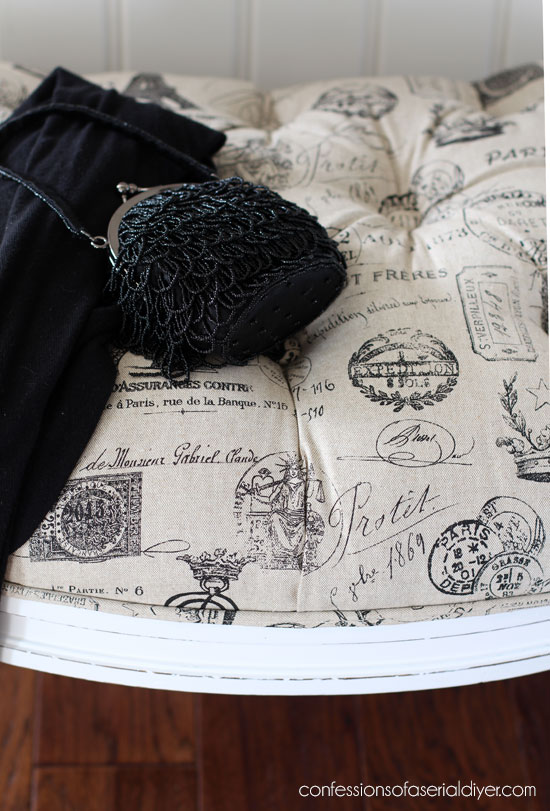
I cut the fabric about four inches longer than where it needed to exist all around:
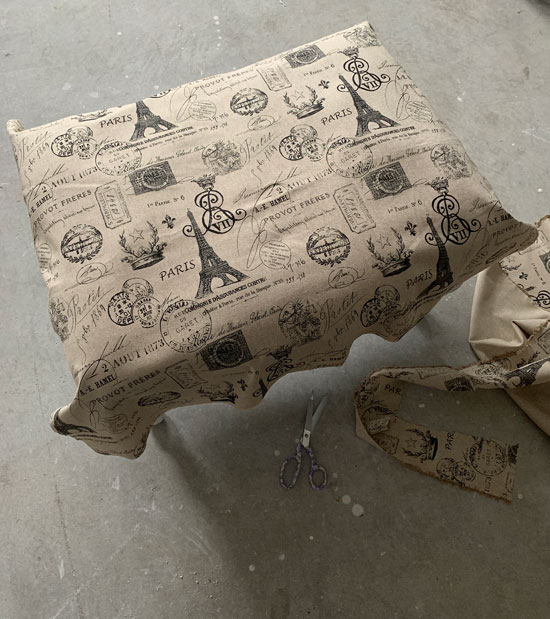
I left the original fabric and tufted areas including the buttons intact as is. All of the buttons were however securely in place.
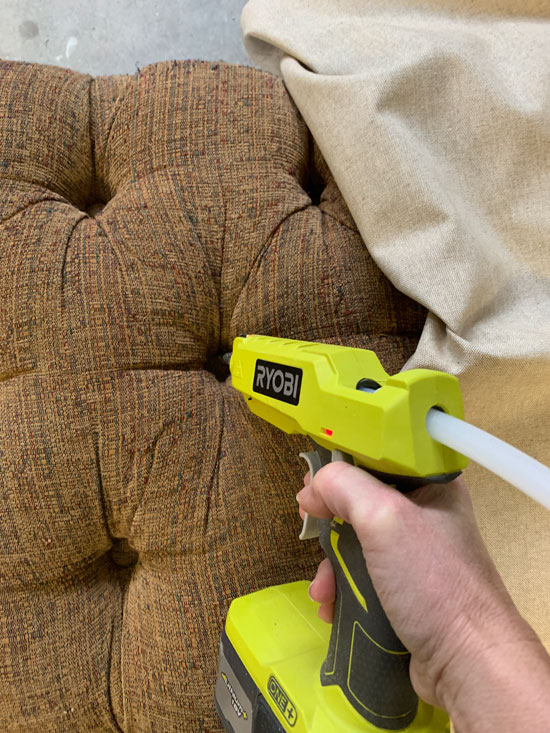
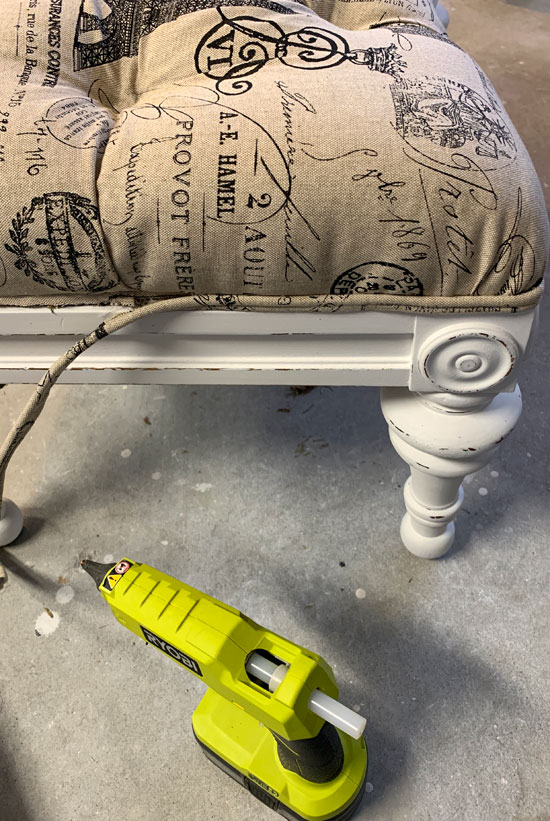
Then I pulled out my trusty glue gun and got busy. I dropped a adept sized dollop of mucilage in the kickoff tufted hole like so:
Then I used the blunt end of this saw to push the fabric down in the hole for nigh 10 seconds:
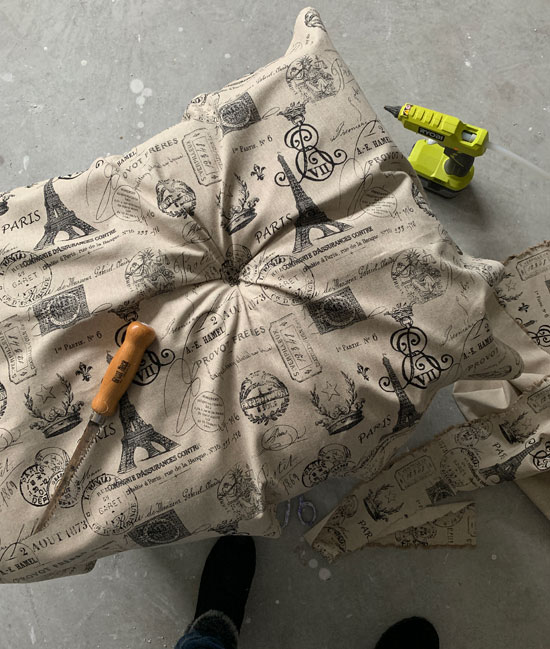
Me pushing edgeless end in pigsty…
Simply long enough for me to not fire my fingerprints off and so for the next 30 seconds or then, I held the fabric down in in that location with my fingertips.
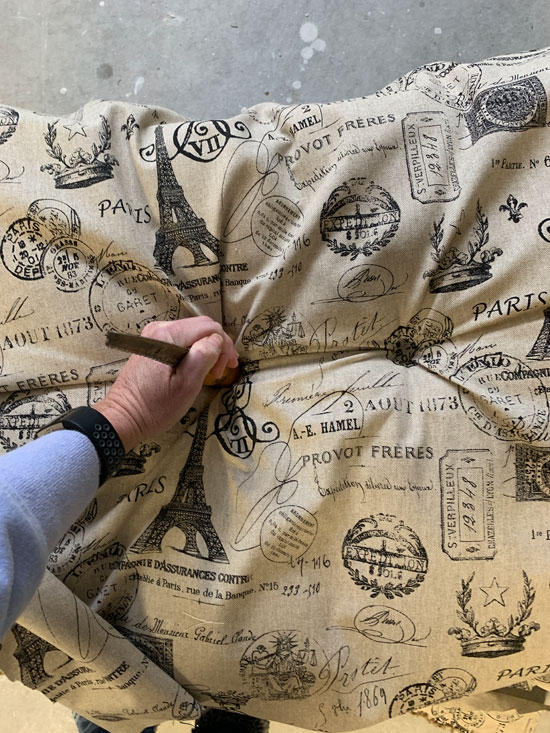
I kept going all the way across the heart:
Then I moved to the outer rows, starting with the center of each:
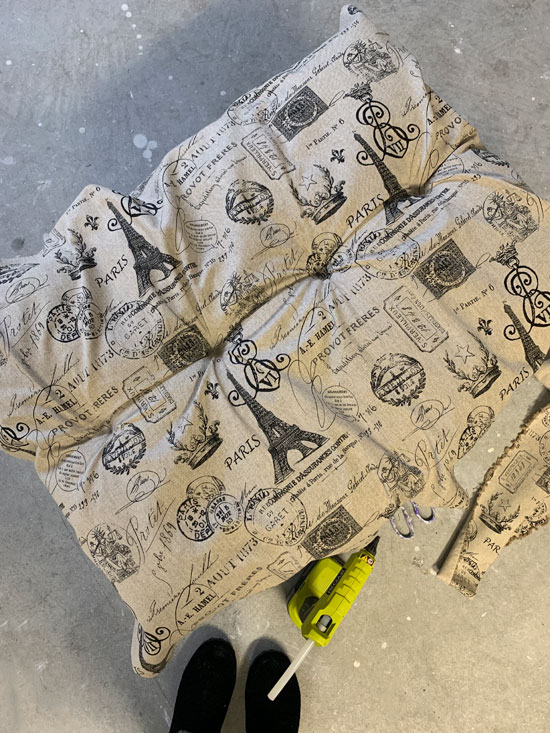
I kept going until all were washed, using the tufts on the original stool of course as a guide. The gum will hold perfectly over time just as long as no one takes a hair dryer to the tufts or stores this in a very hot attic or storage unit of measurement.
Next I pulled out my $8 el cheapo staple gun and using iii/8″ staples, secured the material just above where information technology meets the wood all the way around, pulling it taut as I went:
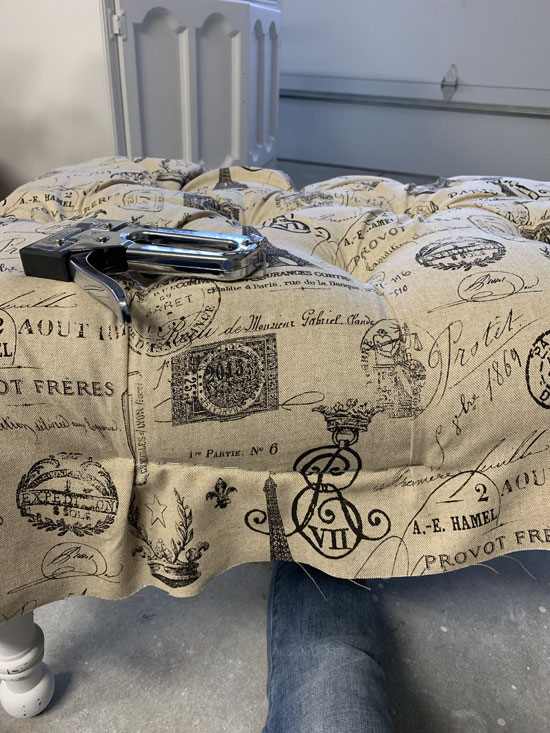
You can see above that I created pleats where the tufts were, just as in the original cover underneath.
When I had stapled all the fashion around, I trimmed very closely to the border using my fabric scissors. It helps to have sharp scissors for this step:
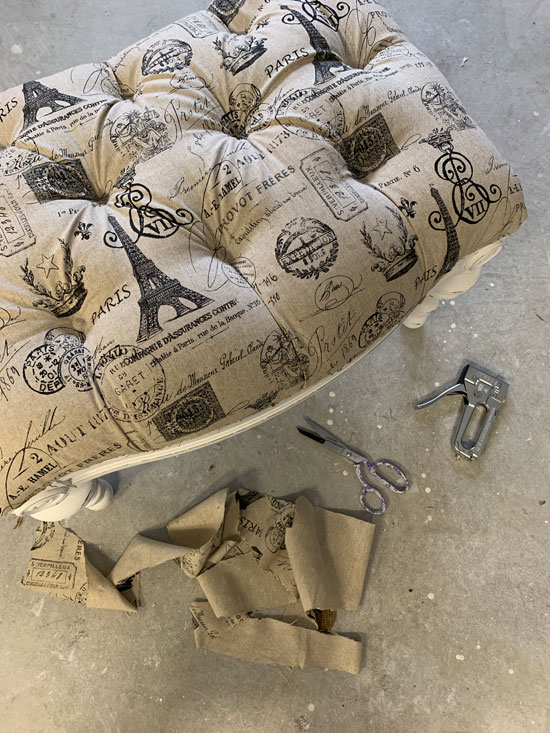
To cover the staples, I needed to brand double welt trim. Don't run yet! You will need a automobile for this, only information technology is super easy to make! Or you tin can buy gimp trim to trim it out instead.
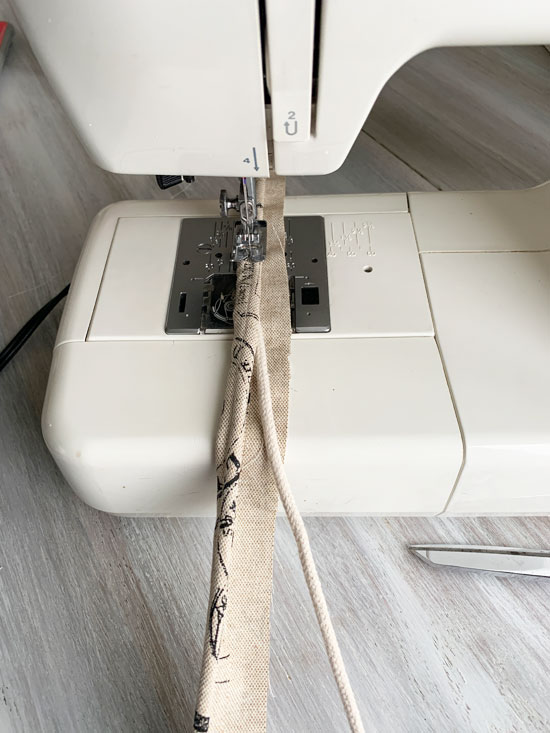
I share a consummate step-by-step tutorial on how to make double welt trim HERE.
Then I just hot glued it in place:
The terminal step was to comprehend the buttons to go in the tufted areas.
I found a button covering kit at Hobby Entrance hall that had everything needed to do this, and I also purchased iii refill packs for this project:

The instructions are easy to follow and in nigh 15 minutes or so I had the ten buttons I needed:
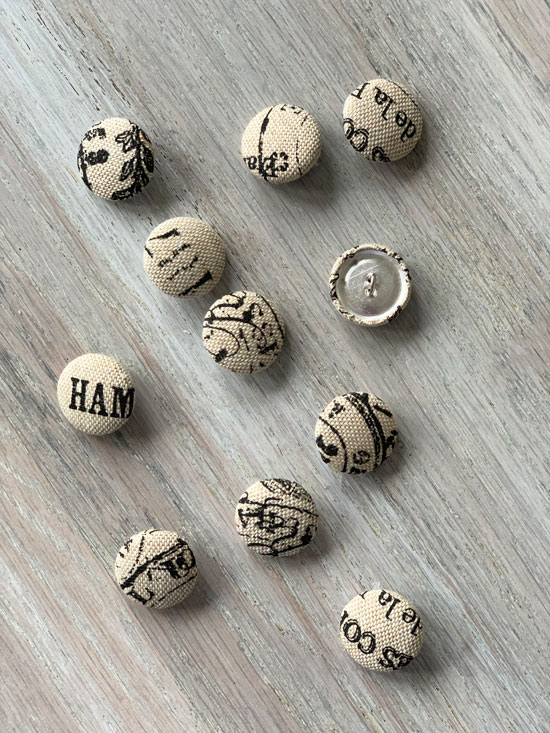
One actually says "HAM" and so I decided to exercise an extra to replace that one.
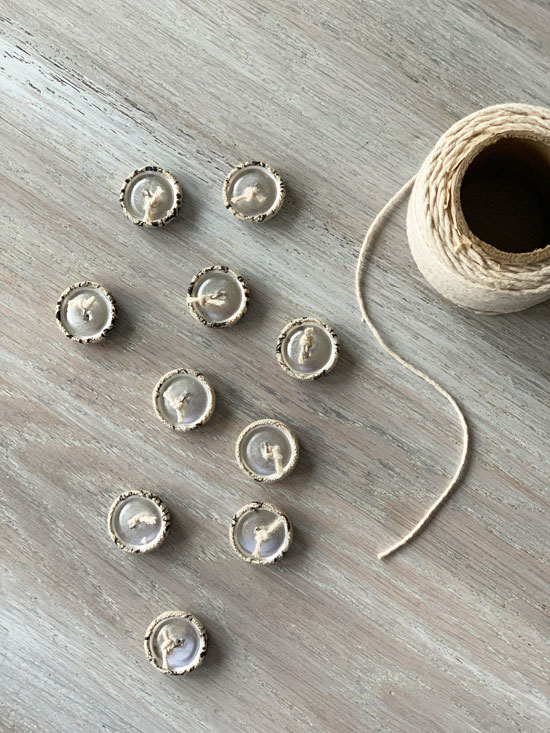
I knew these would exist held in identify with hot mucilage also, so I decided to add together a little bit of string to the dorsum of each one so the glue would have something to agree onto:
Then I just hot glued them in place! I had to hold each 1 downward for about a minute to be sure they were stuck down in there good!

I didn't realize what that push in the corner said until I was editing these photos…I think "HAM" would have been more appropriate ha ha!
Then I totally cheated, only can yous tell??
I had no inkling if this would even work so I am thrilled that information technology did!
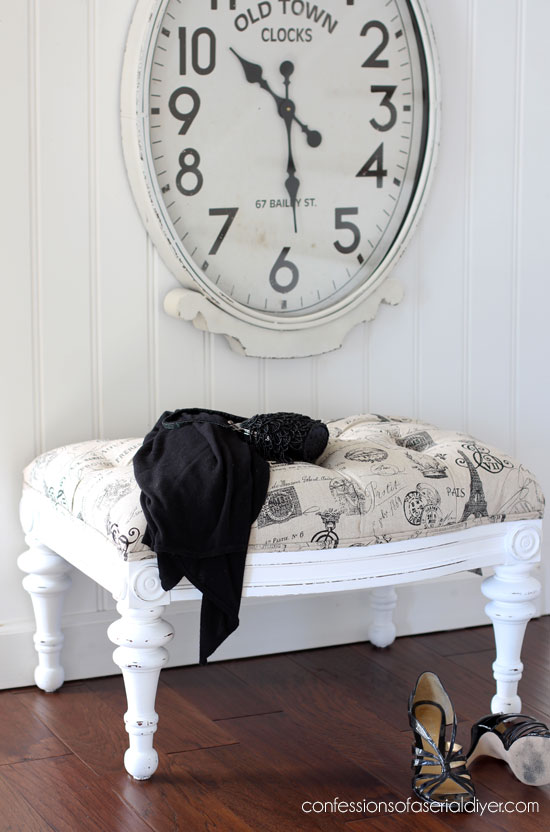

This clock came from HomeGoods and normally lives on the wall in my function. Isn't it crawly?

Well I promise y'all enjoyed this transformation today!
I all the same have enough more pieces to go…

If you lot missed my first two makeovers from this lot, you tin catch up here:
Drop Leafage Repurposed (Corbels)
$4 Vintage Suitcase Makeover
This pretty gate leg drib leaf side table is upwards next:
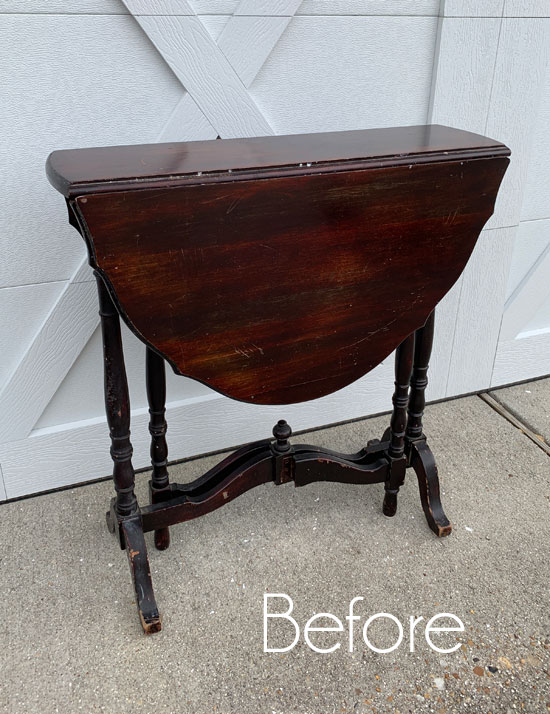
I'll exist back on Thursday sharing what I did with it!
Update: This pretty little thang gave me some trouble, but I finally got it done! Encounter how it looks at present Hither! 🙂
XO,
![]()
Don't Miss a Affair!
If you lot like what you meet, there are several ways to follow along!
E-mail * Facebook * Pinterest * Twitter *Instagram


How To Fix Tufted Buttons But Cant Reach Back Of Couch,
Source: https://www.confessionsofaserialdiyer.com/how-to-recover-a-tufted-footstool-the-cheaters-way/
Posted by: ogdenalling.blogspot.com
0 Response to "How To Fix Tufted Buttons But Cant Reach Back Of Couch"
Post a Comment